Blender Beginner’s Guide: How to Create and Use Bone Mirrors
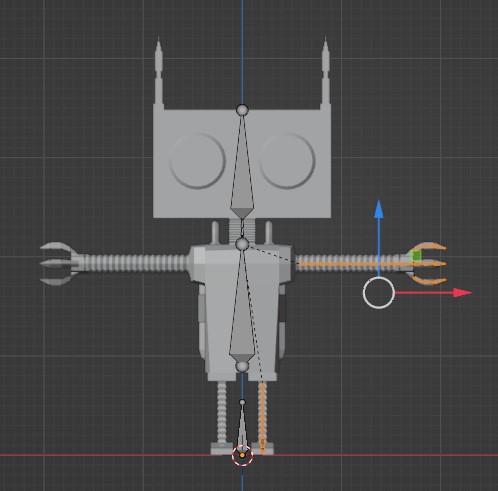
Select a bone other than the center
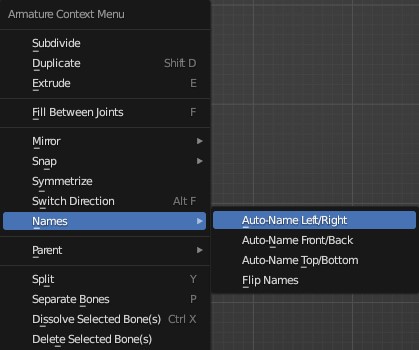

With a bone selected, right-click and select Auto Name from Name (left/right) to add L or R to the bone’s name.
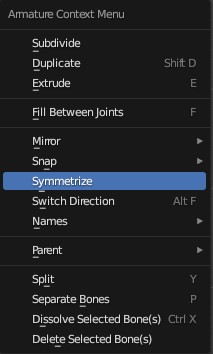
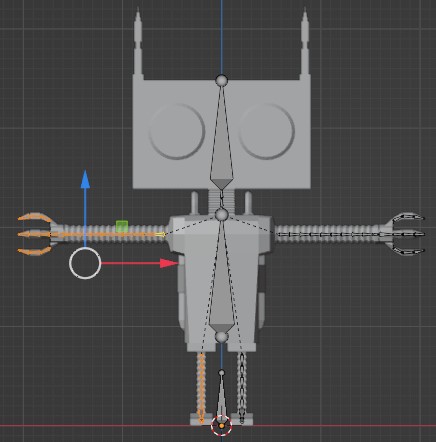
With the bone selected again, right-click and click Symmetrize to create the bone on the opposite side.
Conclusion
In this article, I wrote about how to create a mirror of a bone.
This is short, but we hope it will be of some help to you to easily create the bone on the other side.
If you find incorrect information, typos, or sentences that are difficult to read, please point them out in the comments.